
How to Migrate / Deploy Flows from one Environment to Another
As a maker, a consultant, or an environment admin, you've likely faced the need to replicate sets of Flows between environments or between dev and production sites. This process can be tedious and time-consuming. Fortunately, FlowStudio Pro's Migrate feature offers a simple yet powerful solution to this challenge.
Migrate feature
FlowStudio Pro's Migrate feature allows Flow makers to select multiple Flows and create a Migration Plan for deploying them from one environment to another. It provides the flexibility to modify key parameters within the Flow actions, such as environments, SharePoint sites, connections, and various other properties. This Plan can be reused for multiple deployments across different environments / destinations with just a few clicks.
Here's how to do it:
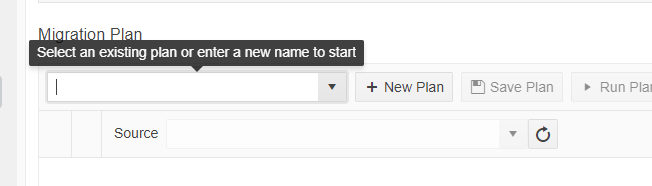
1. Navigate to the Migrate tab within FlowStudio
2. Name your Migration Plan and click on + New Plan
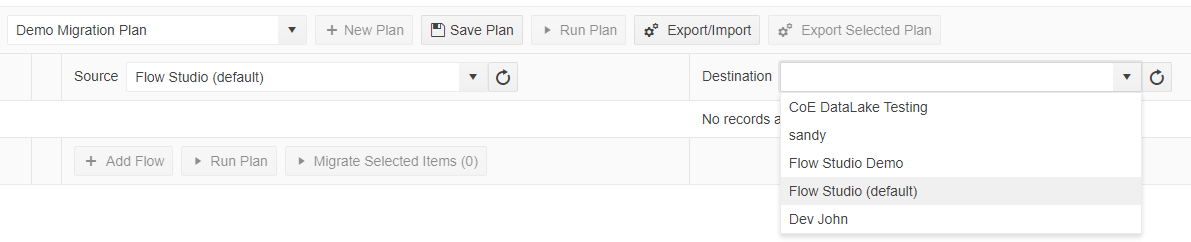
3. Select the Source and Destination environments from the dropdown menus. Note that the source and destination can be the same environment, which is useful for duplicating Flows while making minor adjustments
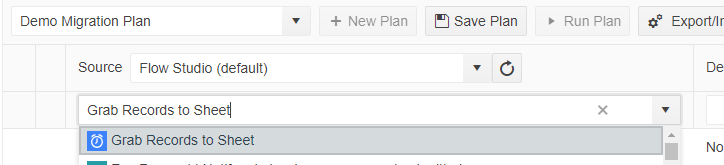
4. Click + Add Flow
5. Choose the Flow you want to copy from under Source
6. Specify the name for the new Flow under Destination and click Add. You can also select an existing Flow in the destination environment if you intend to overwrite it

7. Click on the + sign to expand the details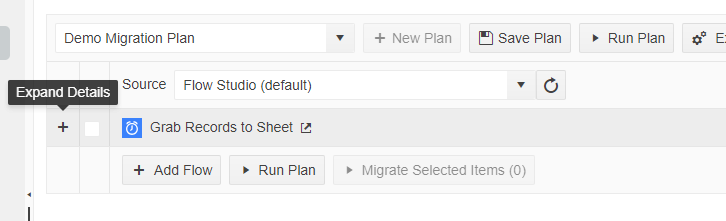
8. You will see a list of objects that the Migration Wizard detected from your source Flow. These may include connections, URLs, email addresses, and GUIDs that you may need to modify in the destination 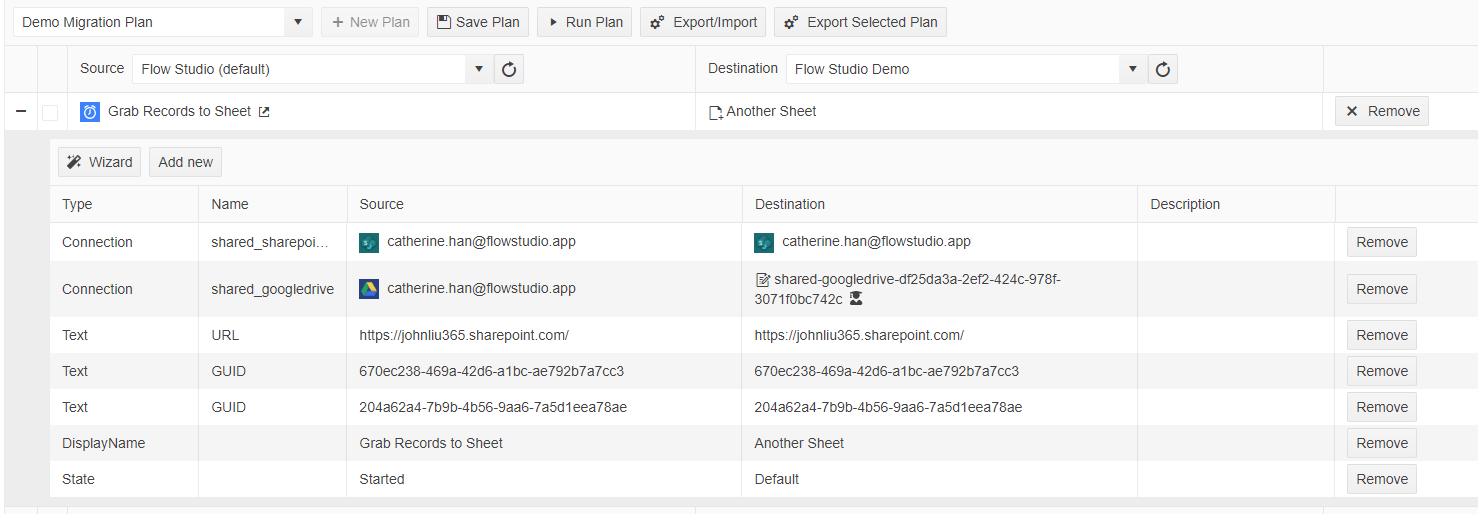
| Tip: The State parameter (located at the bottom of the image) indicates the status of the Flow. The "Default" status for a new Flow is always stopped/Off (just as in the Power Automate Maker, you always need to turn on a new Flow before running it the first time). You can change the State in the Destination column to "Started", and your new Flow will be set to on upon creation, eliminating an extra manual toggle. |
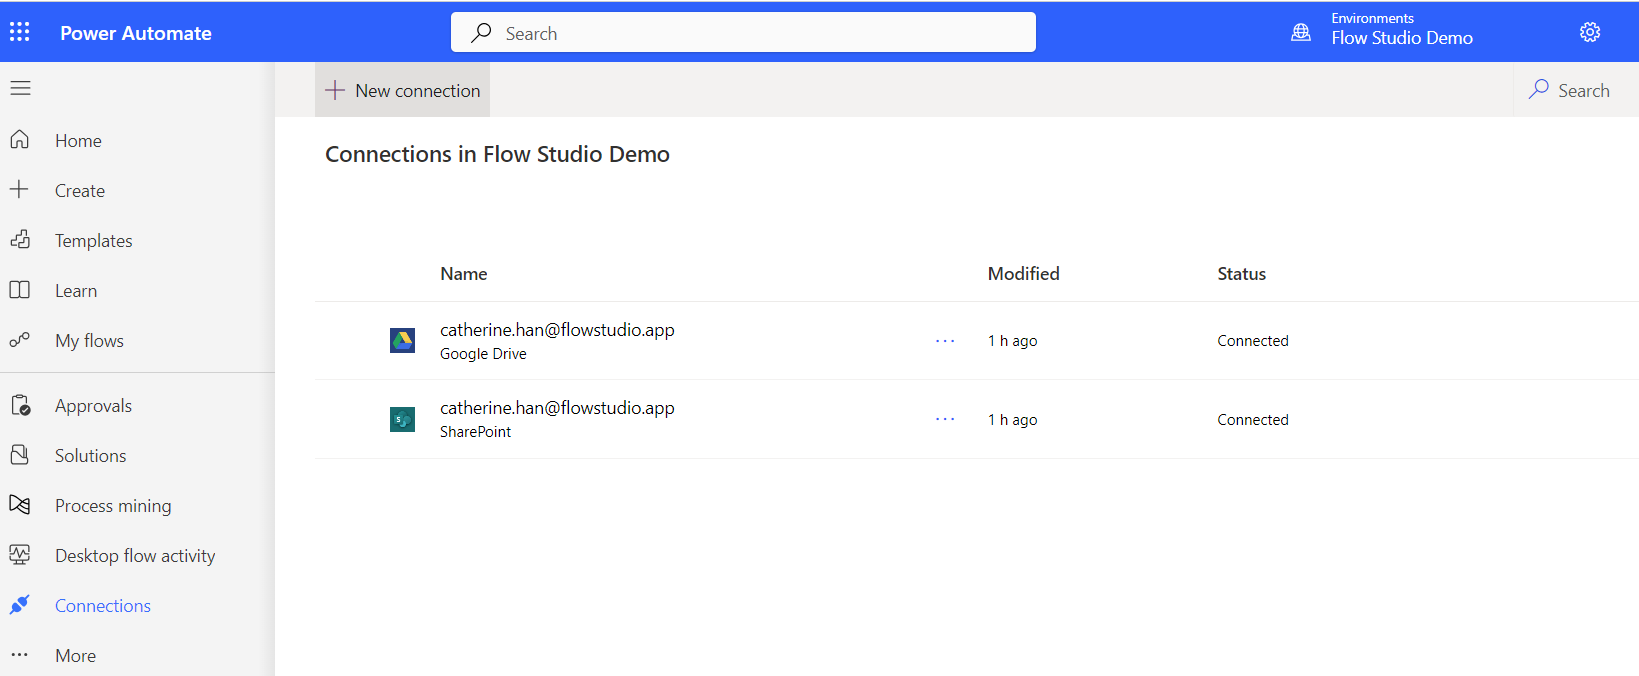
9. (Optional) If the connection doesn't exist in the destination environment or a correct connection isn't available, you must create it first via the Power Platform designer.
10. Add additional Flows to the Plan by clicking + Add Flow and repeat the mapping process, you can deploy many flows in one Migration Plan
11. (Optional) During the mapping process, if you've modified the source Flow or connections in the destination, click on the Wizard to refresh and detect the objects again
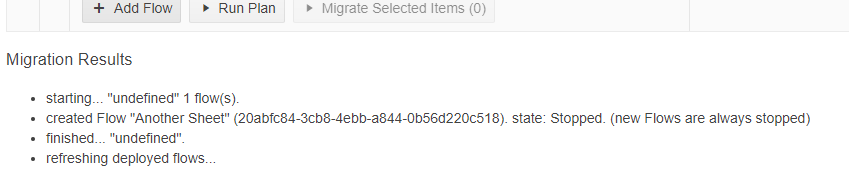
12. Save the Plan and click Run Plan to start the deployment

13. Once the Migration Results show "finished...", the Flow(s) should have been successfully created in the destination.
|
Tips: You can duplicate a plan to deploy Flows to different environments by changing the destination Modify any parameters to adjust the new Flow's objects in the Flow Actions, such as fetching a list from a different SharePoint site, different connection references, or emailing it to a different address |
For more advanced usage of the Migration feature, explore the following pages:
Advanced Tip for Flow Migration - What if the parameter I want to edit does not show?